Created: last year
Time displacement | VHS animation tutorial in After Effects
If you want to follow a video tutorial, use this link.
VHS effect animation in After Effects
Create a new composition and call it Text.
Make a text layer and write the first word - Create. Center it.
Duplicate the text layer and disable the first text layer for convenience. Write the word “This” in the text duplicate. Duplicate the text layer once again and write the word Effect.
Now we have three text layers.
Disable the last two layers and work with the first one, add a Transform effect to it. We need to move the Anchor Point to the beginning of our text, but the point starts moving with the text itself.
To fix it, hold Alt and click on the Position. Track it to the Anchor Point parameter.
Now, when everything works as required, set the Anchor Point at the beginning of the word.
Now we need to shrink the text layer. To do this, disable Uniform Scale - now we got the Scale Width parameter.
Animate the Scale Width parameter, set the first keyframe on the 0 frame and set the value to 0. Set the second keyframe to 50-th frame and the value to 100.
Repeat the second keyframe in 25 frames, and in another 50 frames, set the keyframe with 0 value again.
This animation won’t be the best choice for us, because, in the end, the animation is shrinking back to the first letter, while we need it to shrink to the last letter.
That’s exactly why we need to animate the Anchor Point, where the first keyframe will be placed on 25-th frame with the point at the beginning of the letter, and the second keyframe will be placed on the 75-th frame with the point at the end of the letter.
Exactly what we wanted to achieve!
Now, select all of the keyframes of the Scale Width parameter and EasyEase them with Fn + F9. Set the speed graphs.
Copy our Transform effect and paste it into two other words.
Enable the layers and make a 75-frame offset for each layer.
Now, create a new composition and call it a Gradient Map.
Create a Shape Layer inside of it and in the Fill Options, switch to the Linear Gradient.
It should look like this with the white Color Stop in the middle of it.
Stretch it vertically, like this.
Get back to the Text composition and drop the Gradient Map composition inside.
We can disable it for now.
Create a new Adjustment Layer and call it Time Displacement. Add a Time Displacement effect to it.
And link the Time Displacement layer to the Gradient Map.
Set the Max Displacement Time value to 0.8 and Time Resolution fps to 45.
You can experiment with these parameters.
Create another Adjustment Layer and call it Glow. Add a Glow effect to it and set the Glow Radius to 14.
Drop the Text composition into the new one and call it Main Comp. Add a Posterize Time effect to our composition and set the framerate to 15.
Now we need to duplicate the composition 3 times. Call the duplicates Red, Green and Blue texts. Add a Shift Channels effect to our Text Red composition and leave only the Red channel active.
Repeat the same for the Green and Blue channels.
Choose the Add blending mode for these layers.
Now we need to offset all these layers one frame forward.
Now let’s add our footage to the main composition. The footage is shorter than we need, so we’ll Time Remap it and write down the LoopOut expression.
Let’s add another footage to achieve this distortion texture.
Create a new Adjustment Layer and add a Displacement Map effect to it.
Also, repeat the same for our second footage - Time Remap it and write down the LoopOut expression, to drag our footage on the whole composition.
Get back to our Adjustment Layer and link our footage in the Displacement Map layer.
We can see the distortions in our text.
Now, add a Noise effect and set the amount of noise to 15%.
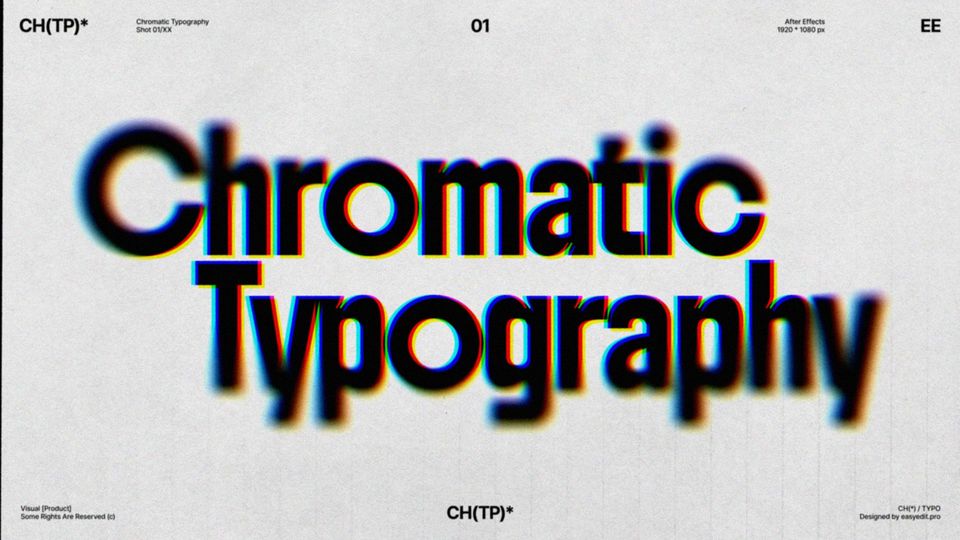
Add some aberrations to the upper Text layer. To do this, add 2 effects to it - Optics Compensation and 3D Glasses.
Set the Field of View to 20, and enable the Reverse Lens Distortion parameter. In the Left View, select the Text layer and in the 3D View parameter, select Balanced Colored Red Blue. Set the Balance to 24.
We can experiment with those settings further to achieve better results.
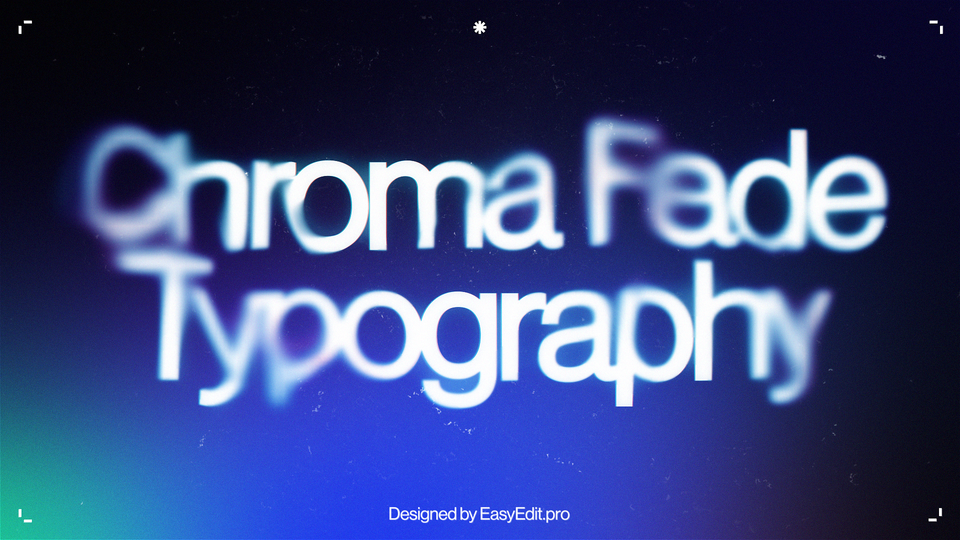
Our time displacement effect is ready!
To Sum Up
Now you can easily create the same glass distortion effect and experiment to make it different!
If you've enjoyed this tutorial, don't forget to check more guides - here you can check our recent After Effects guides.
You can also watch full tutorial on Youtube.
10k elements for Reels and Stories
Looking to add a splash of creativity to your Instagram stories and reels? You're just a click away! Discover our iOS app infi: packed with 10,000+ unique stickers and design elements to breathe life into your social media content.


