Created: 10 months ago
Wavy Liquid Text Effect and Animation | Typography Tutorial in After Effects
Hi editors!
If you want to follow a video tutorial, use this link.
Wavy text animation tutorial
Create a composition and call it Main Comp.
Toggle the transparency grid and create a new text layer.
Write down your text and center it. Set the text tracking to -233.
Create another text layer, write down the first letter, and precompose it.
Go inside of the second text comp, change its width to 600 and height to 800. Center the letter.
Get back to the main comp and go to the Character menu. Pick the red color for our text.
Place the separate W letter you’ve made on top of the original letter and make sure they match.
Add a Scale Whipe effect to our letter. Set the Stretch to 5 and Center to 350.
Now, add a Wave Warp effect. Set the Wave Height to 15, Width to 250, and Direction to 180 degrees. Set the Wave Speed to 0.5 and pinning to the Top Edge.
We’ve already created a simple wavy animation.
Go to effect and add a Gradient Ramp. Set the Start of Ramp to 111, End of Ramp to 500, and use this HEX for the Start Color. Here’s the number - 046A54. Use black for the End Color.
Now, go to the Layer Styles and choose Inner Glow.
Get inside its settings and set the Opacity to 100%, Noise to 8%, and Color to 01FFE6.
Set the Size to 25%, and Range to 95%. As you can see, we now got these glass-like noisy edges.
Enable our main text layer back. Duplicate the composition with a W letter. Call it A and replace the letter inside of the comp.
Place the letter A on top of the reference letter. Repeat the same for other letters in the word.
Now when the first word is ready, we’ll do the same for another word. Create the D letter and go to its Scale Wipe settings. Set the Direction to 180 degrees and Center to 445.
Place the letter on top of the reference letter, set the Start of Ramp to 692 and the End of Ramp to 320.
Repeat the same for other letters. Our word is ready! You can disable the reference word.
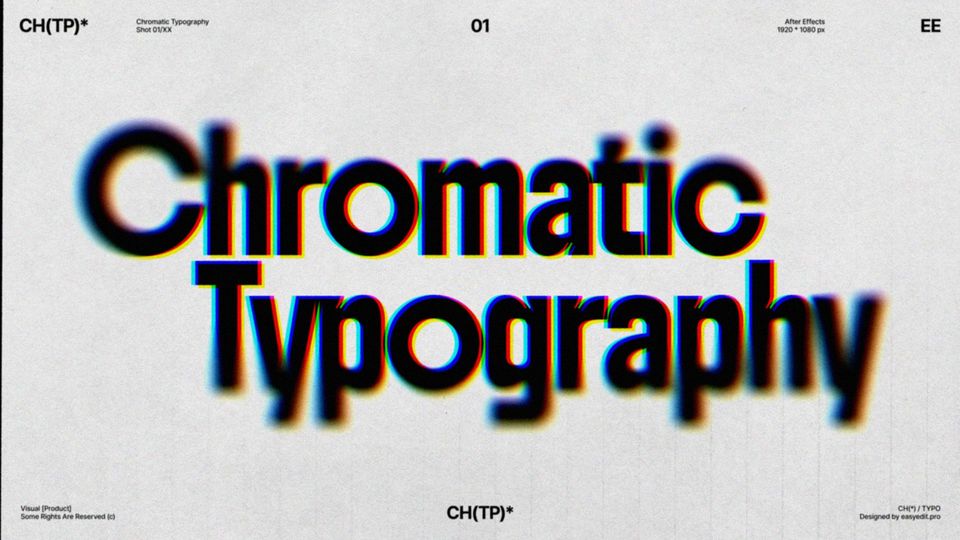
Create a new Adjustment Layer. Add a 3D Glasses effect to it. Link the Left View to the Adjustment Layer, switch 3D View to Balanced Colored Red Blue. Switch the Scene Convergence to 1.
Now, add a suitable TV Noise footage. We used a footage from Artlist.
Place the footage under the Adjustment Layer. Add a Displacement Map effect to the Adjustment Layer. Link the Displacement Map Layer to the footage. Set Max Horizontal Displace to 0,5 and Max Vertical Displace to 0.
Now, add a Glow effect. Set the Glow Radius to 60 and duplicate the effect. In the duplicate, set Glow Radius to 80.
Add a Curves effect. Set the Curves as we do in the example.
Add a Noise effect. Set the Amount of Noise to 10 and disable the Use Color Noise.
Finally, add a Posterize Time effect. Set the Frame rate to 17.
Now, select all of the letters of our first word and animate the Position.
Offset the letters on the 0 frame. Go to the 50th frame and return the letters their original value. Go to the 100th frame and offset them again. EasyEase the keyframes and offset them by 10 frames for each letter.
Add a Loopout expression to each letter of the word.
Repeat the same for another word. Offset the letters by 100, so they would be set to 684 vertically on the 0 and 100th frames.
EasyEase the keyframes and offset them by 10 frames. Add a LoopOut expression to each letter.
Our dynamic wavy animation is ready!
Finally
Now you can easily create the same wavy text effect and experiment to make it different!
If you've enjoyed this tutorial, don't forget to check more guides - here you can check our recent After Effects guides.
You can also watch full tutorial on YouTube.
10k elements for Reels and Stories
Looking to add a splash of creativity to your Instagram stories and reels? You're just a click away! Discover our iOS app infi: packed with 10,000+ unique stickers and design elements to breathe life into your social media content.


