Created: 2 years ago


Ghost Text Effect in After Effects | Text Reveal Animation
Hi friends and welcome to our tutorial!
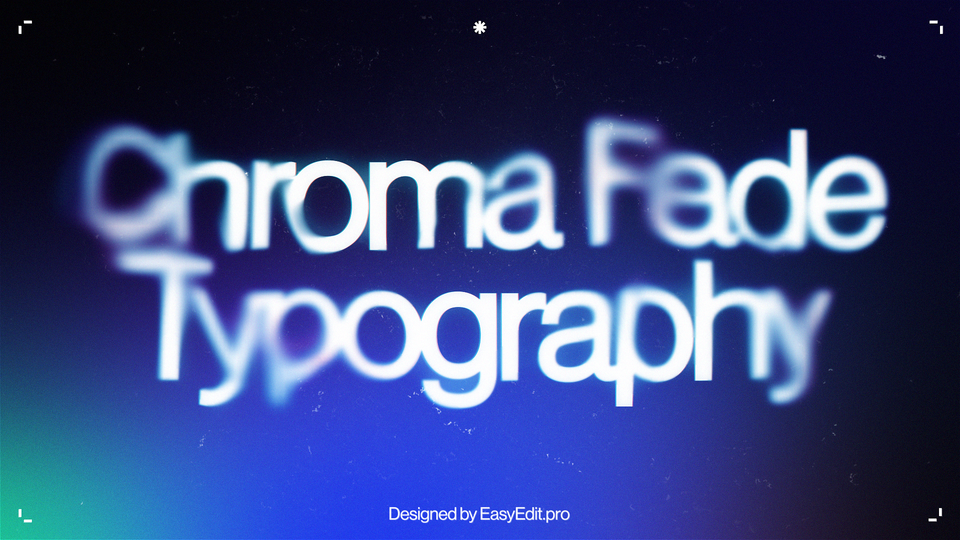
Here's the result we'll achieve:
You can also use the video guide by following this link.
Ghosted text in After Effects
First, we’ll create our text layer and precompose it.
Now, make a new noise Solid layer and call it Noise. We’ll use this layer to control the noise amount in our composition.
Start with a Fractal Noise effect - add it to our noise Solid.
Our noise effect should look like a swirl, so we’ll use the Swirly parameter and increase its scale.
Here we want to achieve some dynamics, so we’ll write down an expression into the Evolution parameter. For this, press Alt, click on the Evolution and write down time*30.
Copy this effect with Property Links.
Duplicate the Noise layer, delete and paste our effect, so now this noise layer will be linked to our original noise layer.
Precompose the duplicate of our Noise and call this layer Noise Distortion.
These layers are in charge of the text distortion, so we can hide them for now.
Apply the Image Wipe effect on our text layer and link it to the Noise Distortion layer. By using contrast, we’ll partly erase our text.
Add a Displacement Map effect and link it to the Noise Distortion layer.
The black noise areas will distort the bottom values, the white noise areas are to distort the upper values.
Since we don’t need the black color to distort the bottom values, we’ll add a Tint effect.
Now we need to animate the reduction of brightness.
Set Max Horizontal Displacement to 135 and Max Vertical Displacement to 150.
Time to add some blur, so we’ll apply a Vector Blur effect on our Text layer.
Link the Vector Map to Noise Distortion layer and select Effects&Masks from the source list.
Set all the Vector Blur properties like it’s shown in the example:
We’ll duplicate our Noise distortion layer and call it a Noise Blur.
Add an Exposure effect to the noise blur layer.
Here, we need to relink the Vector Map on our Text layer from Noise Distortion to Noise Blur layer:
Add one more blur to the Text layer - we’ll use a Compound Blur effect, so our text will be blurred depending on the contrast level. Link it to the Noise Blur level and select Effects&Masks from the source list.
We’ll also make some adjustments and experiments with parameters, to get the best result we can. Here’s the result we got for now:
Now we can move to animating our text and distort it with a Turbulent Displace effect.
Set the speed graphs.
Get back to our main comp and duplicate the layer with text. Now we’ll add several effects to add our layer ghost-like look.
We’ll add a Simple Choker effect to our bottom text layer and set the Choke Matte to -30.
Add a Fill effect and pick a white color.
Add the Roughen Edges effect and set the Edge Type to Spiky.
Now set other parameters like shown in the example and create a constant evolution animation. To do this, press Alt, click on the Evolution parameter and write down the time*60 expression.
Reduce the opacity to 30%.
It’s time to color our layers. Duplicate the Noise Blur layer and call it Noise Color. Apply a Tint effect to it; enable the effect and apply a Color overlay.
That’s how our effect looks right now:
We need to set our effect specifically to be applied to our bottom layers, along with opacity.
We’ll add a Set Matte effect to our Noise Color layer. Specify to Take Matte from the Text layer and pick Effects&Masks from the source list.
Now, add a Curves effect to our Noise Color layer. Set the Alpha Channel:
Set the Curves like shown in the example to get the result like this:
We also want to give our composition a little twinkling or flashing, so we’ll create a new Adjustment Layer. Add an Exposure effect to it.
In the parameter, we’ll press Alt and write down the wiggle*10 expression.
During our text animation, we also want our letters to appear randomly and twinkle a bit during the In animation.
Now go to All Transform Properties:
And animate Offset from -15 to 100:
Click on Characters Excluding Spaces:
And customize additional parameters to your liking. You can use the same customization as we do here.
That's the result we got!
How to create this animation in seconds
Also, we want to share a little tip on how to make the same text animation in a couple of clicks by using our Presets Pro pack for After Effects.
With your text layer selected, click on any preset to apply the animation.
Easy as a click of a button!
To Sum Up
If you've enjoyed this tutorial, don't forget to check more guides - here you can check our recent After Effects guides.
10k elements for Reels and Stories
Looking to add a splash of creativity to your Instagram stories and reels? You're just a click away! Discover our iOS app infi: packed with 10,000+ unique stickers and design elements to breathe life into your social media content.