Created: 3 years ago
Kinetic Typography Tutorial Part 2 | Text Animation in After Effects
Kinetic Text Animation We’ll Create
Hi, friends! This is our second kinetic animation guide.
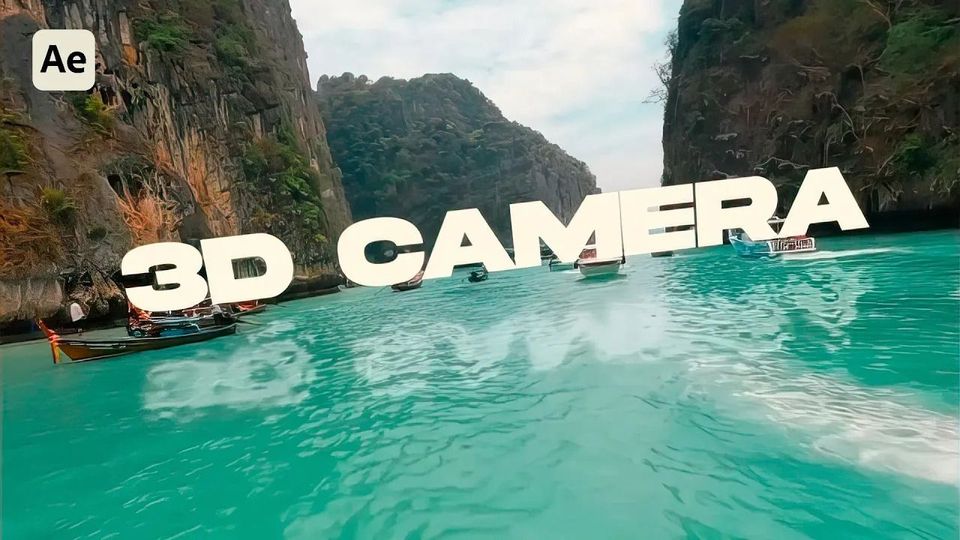
In this guide, we'll create a Kinetic text animation in After Effects, particularly rotating cylinder made of text:
Let's create a new comp, call it 002, 1080p 30 frames per second, three seconds long:
Type in your text, center the Anchor Point and center out the text.
Specifically, here we’ll duplicate our text and in the Effects and Presets menu bring up the CC Cylinder and apply it to our text:
Now we’ll bring up a wide-angle camera and make some Position adjustments:
Here, we’ll change the Light settings. We’ll set Light Height to 45, Light Intensity to 250 and Light Direction to 0:
Let’s make a shadow so we’ll get more depth. To do this, we're going to call this layer Outside, duplicate it and call the second one Inside:
In the CC Cylinder<Render let's select Inside - now we see that only the inside of the cylinder will be rendered:
It doesn't matter how we rotate it and how we place it - only the Inside will be rendered and Outside will be on top.
Here we’ll select Outside and create a Drop Shadow via Layer Styles. We’ll do it this way because no matter how you rotate or place your layer - the shadow will always fall according to the light direction. But if you’ll add a Drop Shadow as an effect and rotate a layer, the shadow will also rotate.
To do this, go to the Layer Styles>Drop Shadow:
To make adjustments, bring up the Transparency to see how the composition looks like - Angle 90 degrees, Size 37 and Distance 0:
Keep in mind that if we want to create some background, for example, a colored one, we’ll need to do one thing to match the color of the background. Let's bring up the Tint applied to both of our layers and map black with the color of our background. We’ll do this for the Inside as well and it won’t affect the layer styles:
Set the Blend mode to Normal:
Now we’ll rotate our text. Alt-click on the Rotation Y and enter time 30:
Copy this expression and apply it for the Outside layer, or just map these properties - if we make some adjustments, the other layer will follow:
Now we’ll create animation for the camera. Add a Null Object with the 3D, parent the camera to Null Object:
Hit P to bring up the position and create a few keyframes on the Outside layer; change X and Z Rotation:
And the last thing is to Easy Ease the keyframes - select your keyframes and click F9; go to the Graph Editor make the keyframes smoother:
That's it for this technique!
To Sum Up
So, that's it for the second technique, we hope you enjoyed the tutorial!
In these three guides, we'll create different kinetic text animations in After Effects - join us to follow along.
Here you can find the Kinetic Typography Tutorial Part 1.
Here you can find the Kinetic Typography Tutorial Part 3.
For more tutorials like this, check our Educational Blog - we have dozens of articles covering animation, design, video editing and many other topics.
If you want to learn how to create Liquid Text Animation in After Effects - check this tutorial!
10k elements for Reels and Stories
Looking to add a splash of creativity to your Instagram stories and reels? You're just a click away! Discover our iOS app infi: packed with 10,000+ unique stickers and design elements to breathe life into your social media content.


