Created: last year
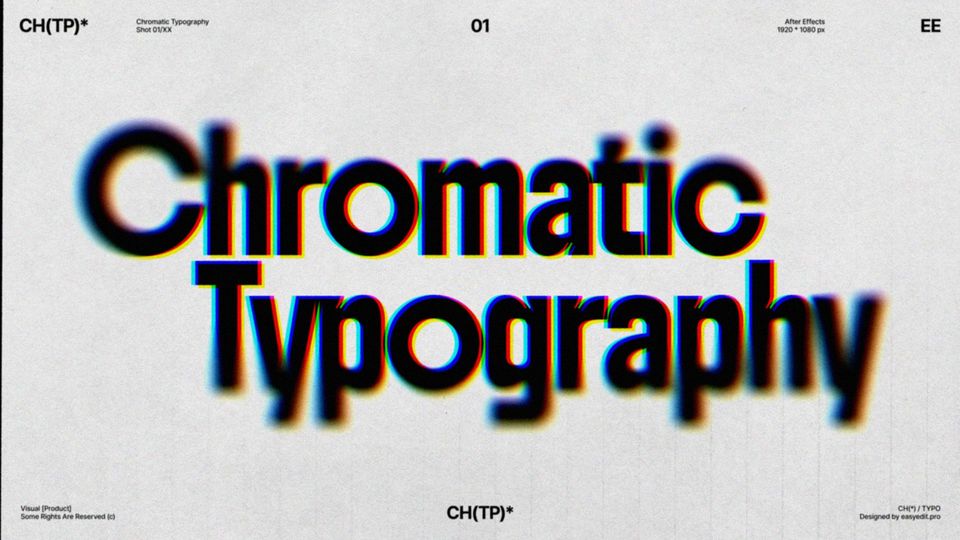
Paper Effect for After Effects
If you want to follow a video tutorial, use this link.
Let’s start!
Paper Effect in After Effects
Create a new composition and call it Main Comp.
Create a new text layer and write your text. Center it.
In this project, we’ll use two textures. Drop the paper texture into our composition.
Precompose it and call Paper Comp.
Place our Paper Comp below and add an Invert effect to it.
Duplicate our Paper Comp and drag the duplicate on top, rename it to Matte.
Go to the Track Matte of our text, pick the Matte from list, and click on the Luma Matte icon.
Now add the Curves effect to the Matte composition. Set the curves the same as in our example.
Go to the settings of our Text layer and add an Animate > Position parameter.
Now add a Selector > Wiggly.
Go to Range Selector and in the Advanced menu pick Index in Units.
Go to Wiggly Selector and in the Wiggles/Seconds parameter change the value to 0. Set 0% in The Correlation parameter.
Set the Position values to 1.0 and 50.0.
Press Alt, click on the Random Seed parameter and write down the posterize time and random expressions, like in the example.
Add a Displacement Map effect to our text layer.
Duplicate the Paper Comp and call the duplicate Map (it would be our displacement map).
Get back to the text and in the Displacement Map parameter select Map and Effects & Masks from the source list.
Set the Max Horizontal Displace to 100, Max Vertical Displace to 40.
Add a Curves effect to our Map and set the curves as in the example.
Now add a Roughen Edges effect to our text layer and set the values as in the example.
Press Alt and click on the Evolution parameter. Write down the same expression as here:
Duplicate the Paper Comp effect once again and drag it on top, select the Multiply blending mode.
Duplicate it, call it Highlight and add an Extract effect to it.
Set the blending mode to Screen and in the settings set the Extract effect to the same values as in the example.
Now, add a second texture, cut it on the 50-th frame and cut the layer in two (on the 25-th frame).
Turn one of the layers vertically.
Select both layers, precompose them and call them Texture Comp.
Now Enable Time Remapping and while holding Alt, write down the expression as in the video. It will loop our texture to match with the clip duration.
Set the Lighten blending mode on our texture.
Duplicate the composition and set the Multiply blending mode in our duplicate. Add an Invert effect to it and flip it vertically.
Create a new Adjustment Layer and call it Camera.
Add a Transform effect to it and set the Scale parameter to 101.
Hold Alt and click on the Position parameter. Write down the same expressions as in the video - this will give a little wiggling to our frame.
Create another Adjustment Layer and call it Flicker. Add an Exposure effect to it. Set the Exposure value to -0.20.
Hold Alt, click on the Exposure parameter and write down the expressions like in the example.
Now add a new effect - Add Grain. Set its parameters like in the video.
Add a Brightness & Contrast effect and in the Brightness parameter set Brightness to 4, and the Contrast to 10.
Add a Noise effect and set the parameters as it’s shown in the video.
Now, duplicate the text layer and create a composition like in the example.
Add a frame with the Rectangle Tool and set its width to 10 pixels.
Copy all of the effects from our text layer and paste them into our layer with the frame. In the Track Matte of our frame select Matte and change it to Luma Matte.
Parent the text layers to the frame for convenience and rotate the frame at -7 degrees.
Add an Invert effect to our Flicker layer, you can enable and disable it as you like.
Create a Null Object and parent all the layers with paper, text, and frame to it.
Hold Alt and click on the Position parameter. Write down the expressions as shown in the video.
Repeat the same with the Rotation parameter.
Our paper effect is ready!
Finally
If you've enjoyed this tutorial, don't forget to check more guides - here you can check our recent After Effects guides.
You can also watch full tutorial on Youtube.
10k elements for Reels and Stories
Looking to add a splash of creativity to your Instagram stories and reels? You're just a click away! Discover our iOS app infi: packed with 10,000+ unique stickers and design elements to breathe life into your social media content.


