Created: last year


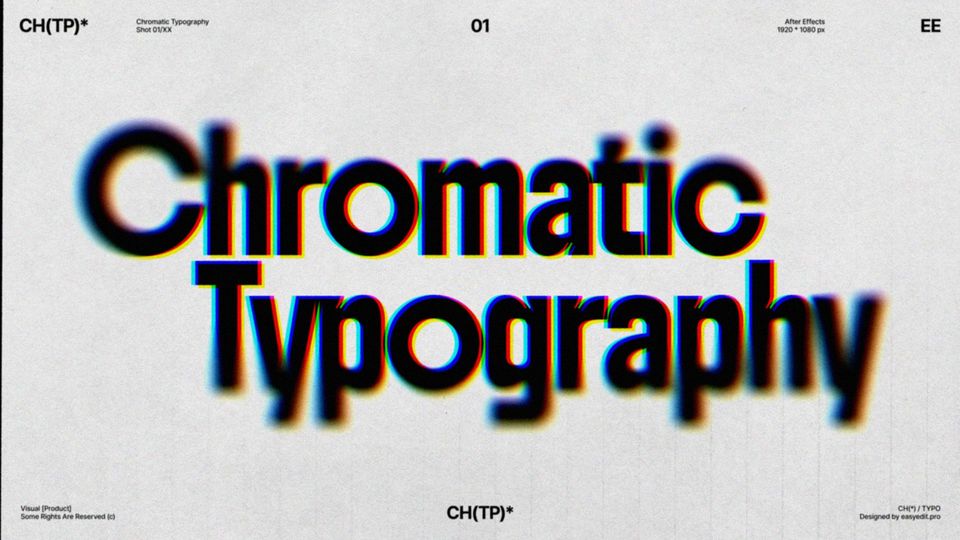
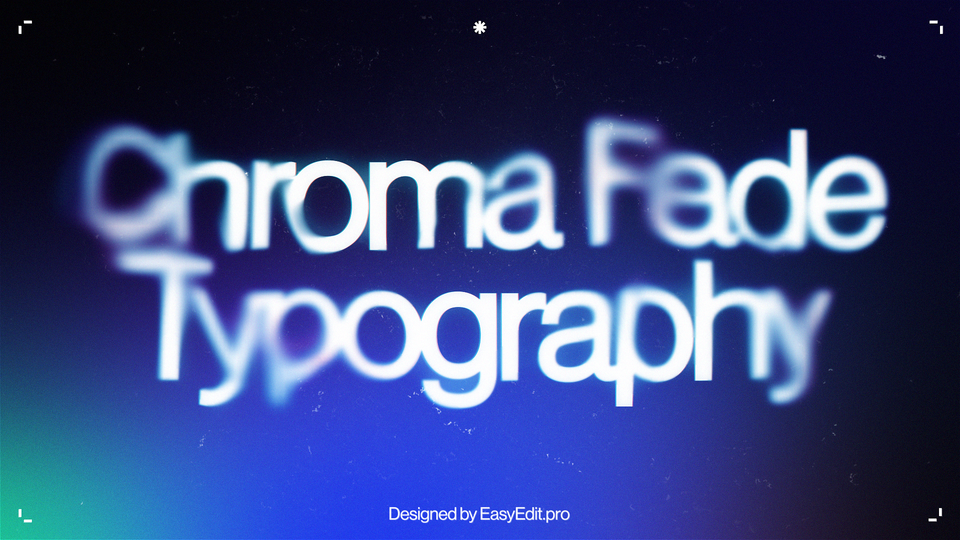
Thermal Blur Effect | Text Animation in After Effects
The guide is easy enough for beginners, just repeat all the actions as in the example.
If you want to follow a video tutorial, use this link.
Thermal Blur Effect in After Effects
Create a new composition and call it Text Comp.
You have to switch Bit Depth to 16 bits per channel.
Create a new text layer and center it.
Create a new Shape Layer.
Use Ellipse Tool to create a circle, center it and turn its color to black.
Call this layer Blur Map and add Fast Box Blur effect to it.
Switch the Blur Radius to 125 and uncheck the Repeat Edge Pixels.
Next, add a Solid Composite effect to it, place the layer below the text and disable it.
Create a new Adjustment Layer and call it Blur Displacement. Add a Camera Lens blur effect to it and set the setting as we do in the example.
Next, create a new Adjustment Layer and call it Color Grain. Add a Solid Composite effect to it and switch the effect’s color to black.
Next, add a Colorama effect to it. Change the colors to the same as we do:
1 - #000000
2 - #214F89
3 - #4A8497
4 - #E5504C
5 - #EF7E01
6 - #F9BA3B
7 - #FDEBD1
8 - #FFFFFF
Hold Shift and drag black color to the middle, then white color to the middle. Make sure you drag the black first.
Next, add Noise Alpha effect and place it over all other effects. Set the same settings as we do.
Create a new Solid and call it Fractal Noise. Add a Fractal Noise effect to it. Set the same values as we do.
Hold Alt and click on the Evolution parameter to create the expression. Write a time*100 expression.
Now, add a Fast Box Blur effect and set the Blur Radius to 50.
Add a Calculations effect with the same settings as in the video.
Disable the Fractal Blur layer and drag it below.
Now, add a Displacement Map effect to our Blur Displacement layer and set it like we do in the video.
Duplicate the effect and change the values to -100 to align the composition.
Create a new Adjustment Layer and call it Glow. Add a Glow effect to it. Set the Glow Radius to 43, change Glow Intensity to 0,4.
Duplicate it and set the same values as in the example.
Create a new Adjustment Layer and call it Curves. Add a Curves effect and set the curve as in the example.
By changing the scale, position and rotation, we can control the effect and influence the text. Hold Alt and click on the Scale. Write down the wiggle effect with the same values as we do here.
Repeat the same for the Position parameter.
Here we can see how the changes are applied on the Blur Map.
Disable the Blur Map layer and create a new Null Object. Parent it to our Blur Map.
Create a little In animation for the Scale. Go to the 50-th frame and add a keyframe with 100% value, go to 0 frame and add the keyframe with 0% value.
Select all keyframes, press Fn+F9 and EasyEase them. Set the speed graphs.
Go to the Curves layer and add a Noise effect to it. Set the Noise amount to around 10% and uncheck Use Color Noise.
Our Blur Displacement effect is ready!
Finally
If you've enjoyed this tutorial, don't forget to check more guides - here you can check our recent After Effects guides.
You can also watch full tutorial on Youtube.
10k elements for Reels and Stories
Looking to add a splash of creativity to your Instagram stories and reels? You're just a click away! Discover our iOS app infi: packed with 10,000+ unique stickers and design elements to breathe life into your social media content.