Created: 3 years ago


Text Animation with Titles Pro V3
Hi, editors! This is a guide for using Titles Pro, and specifically Titles Pro V3. This guide has a detailed step-by-step explanation for installing the templates and fonts, pack navigation, applying templates to your content and other useful features.
Installation
Open After Effects and go to Window>Extensions>Easyedit Viewer. Go to “Install Files for After Effects” folder and find the installer file. To install the package go to Dashboard and click “Select Install File” or “+”. Enter your email and Purchase Code. Done! Now you can use all presets from the package.
How to Install Fonts
Open Font Book, select the font files you need to install and drag them into the Font Book window. You’re done, the fonts are installed!
Quick Overview
The project files are divided into 23 categories for your convenience. You can preview all templates in the Catalog here.
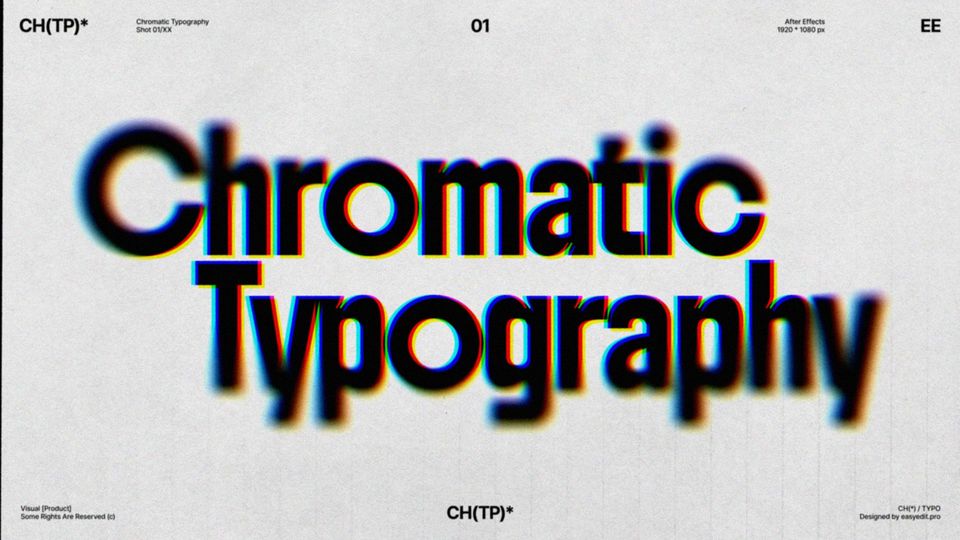
Minimal Titles
Is a package of ready-made titles & type compositions, which you can alter and combine to your preference.
Lower Thirds
Is a collection of graphic overlays, superimposed onto the lower section of a screen in order to provide a reference to the audience. Information often includes the speaker’s name and profession, or even a situation and location to provide context to the viewer.
Quotes
Is a collection of neatly organized text layouts for various sayings, citations, and quotations.
Sale
Is a package of different sale banners. Perfect for brands and professional advertisements.
Call-Outs
Is a set of compositions that are used to illustrate special features on a screen. For example, to point out details in a technical drawing, show a location, describe something or attract attention.
Digital
Is a collection of various technology-related titles. Would be perfect for any design project.
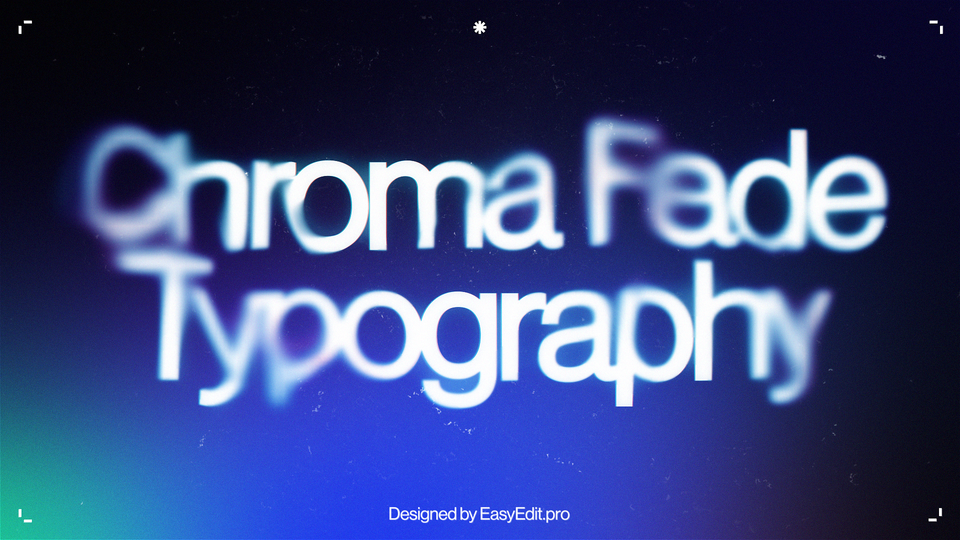
Glitch
Is a collection of titles with different glitch & distortion effects.
Kinetic
Is a stylish collection of avant-garde design titles. Perfect for commercials, music videos, mobile apps and websites.
Liquid
This collection contains distorted and psychedelic titles. Perfect for melting texts.
Ready Scenes
The collection of ready-made compositions. You can add your content and text and quickly customize it.
Color
Is a collection of bright, neon-colored titles. These titles will enhace any video and will look stylish in any area of your work.
Fashion
This collection has fashion and beauty industry-related titles. Use it to promote your fashion brand, showcase your collection, or a lookbook.
Sports
Is a collection of sport-related titles. Perfect for sport channels and podcasts.
Cinematic
This collection contains different cinema-related titles. You can use it for a music video, movie, trailer or a short film opening.
Countdowns
Is the collection of various meters, timers, clocks and countdowns.
Stomps
Is a collection of short, dynamic titles. It’s divided into 3 subcategories, divided into animation by characters, words or lines.
Details
The collection of typographic details. You can enhance your design by more elements and spice it up.
Viewfinders
This collection allows you to use different viewfinders. It’s divided into horizontal and vertical subcategories.
Backgrounds
Is a set of various backgrounds. It has 5 subcategories - light and dark gradients, light, tinted and dark shapes.
Import, resize and time controls
Let’s create a new composition. Click Composition>New Composition. Here, we set our comp’s width to 3840 px and height to 2160 px.
Go to EasyEdit Viewer and select Titles Pro pack. Choose the shot you like and click “Import”.
To resize the composition, go to Composition Settings and set the desired dimensions. The composition will automatically change it’s size.
To change the duration of the composition, just drag the “In” and “Out” markers. As you see, it’s convenient and easy to do, and doesn’t require extra customization.
Customization
In EG panel you can customize and configure the main parameters. This is how you can customize the Text:
Position & Scale of the elements:
And, of course, the Color:
Now, we can work with our Content. You may already have the content you need to apply, by in EasyEdit Assets you can find anything you need for your project - just like we pick the content for this tutorial. Here you can choose any media file you need by writing the keyword on search (you can pick a video, gif of a photo, and the source of media). You can also download the file and pick the download destination. By default, the content will be added to your project automatically.
Call-Outs
Now, let’s work with Call-Outs. Choose the Call-Out you like and click “Import”.
To change the duration of the composition, just drag the “In” and “Out” markers. Let’s edit and track our Call-Out like in the example:
Now, let’s track our footage. Right-click on the footage layer and go to Track and Stabilise>Track Motion.
On a Tracker Panel, we can set our Tracking Point.
Important Note: the Tracking Point should be placed in the spot of high contrast - between the white and dark pixels. We found this spot and placed our Tracking Point there. To do this, click on the Tracking Point in the area between it’s inner and outer bounds. Click and drag your Tracking Point:
In the Tracker Panel press the “play” button to “Analyze”. You can track the footage either forward or backward, depending on your needs.
When the tracking is done, select your footage on the timeline and hit “U” on the keyboard.
After Effects created s bunch of keyframes after this action. Each keyframe corresponds to the position of the Tracking Point in a particular time. We can map or attach any external layers or composition properties to these keyframes. Let’s see how to do this:
We switch to the Composition View in the Preview Window.
1. Select the Call-Out and change it’s Anchor Point. To do this, press “Y” on the keyboard to select the Anchor Point Tool. Click and drag the Anchor Point and place it to the starting point of the Call-Out.
2. Then, hit “V” on the keyboard to select the Move Tool. Click and drag the call-out layer to reposition it.
3. Now, let’s open the Transform Menu on the call-out layer. Select the Position property and alt + click on it. The expression editing menu will appear.
4. Now, grab a pick whip of the Position property and click + drag it to the “Feature Center” of the Track Point.
5. To exit the expression editing menu, just click on the empty space on the Timeline.
That was the whole process of creating a Tracking Point!
Countdowns
Create a countdown
Let’s create a new composition, for example, 4K. Choose the shot you like and click “Import”. Now go to the Essential Graphics Panel and set up your countdown. Inside of the “Main Config” menu, we can configure our timer. We can set up a custom time.
The “Speed” parameter controls the countdown. By default, it is set to a positive 1 value, which means the timer will count from the set time upwards with real-time speed.
A second in the composition equals a real-time second. We can increase the count speed by setting a higher value.
Now you can see, that the timer runs much faster. This effect can be useful for creating a timelapse, for example.
Reverse the countdown
For example, if you want to count from the set time to zero - just put a negative number into the “Speed” control.
Now our timer counts downwards.
Freeze the timer
If you want to freeze the timer, put a zero into the “Speed” control.
Combinations of elements
You can mix & match elements to achieve interesting combinations and save time! We made sure they all look good in any composition. Let’s create a new composition to check this!
We can choose the title and background we like and import both:
You can always add more details with other templates:
These tools allow for numerous results and match perfectly with each other. So you can experiment with compositions and have fun!
Vector Files
We’ve included static vector files in the pack and you can use them to create your own graphics and animation. These files are divided into 23 categories, the same as motion templates. In each category there’s a preview folder and vector files:
Create graphics
Now, let’s create some graphics! You can open the files in Adobe Illustrator: choose the shot you like and import it into the software.
The titles are colored in white, so it’s easier to import them into After Effects or Premiere Pro.
1. Press “command or control + Y” in Illustrator to enter the Outline View.
2. Select our elements.
3. After selecting elements, press “command or control + Y” to exit the Outline View.
Let’s change the colors and alter our text:
And add some background gradients and details. We will take them from the project:
Custom Animations
Vector files can also be used to create custom animations. Let’s create ours!
Open After Effects, choose the shot you like and import it into the software. In the pop-up window choose “Composition” and footage dimensions: “Layer Size”:
Go inside the composition you’ve just created. Select the .ai layer and press “command or control + E”. The file will be opened in Adobe Illustrator.
1. Press “command or control + Y” to enter the Outline View.
2. Double-click on the text layer and select the text. Copy text.
3. Now, go back to After Effects and press “command or control + T” to select Horizontal Text Tool.
4. Click on the empty canvas and paste the text.
5. Hit “V” to select the Move Tool. Select the text and position it as in the reference:
6. Now, select the .ai layer on the Timeline and right-click on it. A pop-up menu will appear, in which you should select Create>Create Shapes from Vector Layer.
A native After Effects shape appears. We can rename this layer to “Line” and delete the .ai layer since we don’t need it anymore.
Animation with Presets Pro
For the animation, we can use standard After Effects tools. But with Presets Pro, you can create animation in a few clicks and it would be much more convenient. Open EasyEdit Viewer and select Presets Pro. Select the text layer and browse through some presets:
With the text layer selected, click on a desired preset to apply it to the layer.
Now we have a ready animation in seconds! If you want to make any changes, you can use the Effect Controls menu to customize the preset:
Also, you can apply another preset, without affecting the design. To do so, just select the text layer again, click on the preset you like and it will be reapplied to the layer.
The presets are divided into Text and Animation categories. Text presets can be applied to text layers, animation presets can be applied to any layer you will choose.
You can combine text and animation presets on the same text layer to achieve interesting combinations. You can also reapply any given preset if you like:
Wrap up
Thank you for watching our tutorial!
Titles Pro would be an easy tool to use and create your animated graphics, so we hope this guide was handy. All of these categories will help you to create professional animation of any object - from title to logo, and much further. If you will have any questions about the pack - please, contact us - help@easyedit.pro, our team will gladly assist you. Good luck with Titles Pro!
10k elements for Reels and Stories
Looking to add a splash of creativity to your Instagram stories and reels? You're just a click away! Discover our iOS app infi: packed with 10,000+ unique stickers and design elements to breathe life into your social media content.