Created: last year


How to Make Text React to Music in After Effects | Audio Spectrum Tutorial
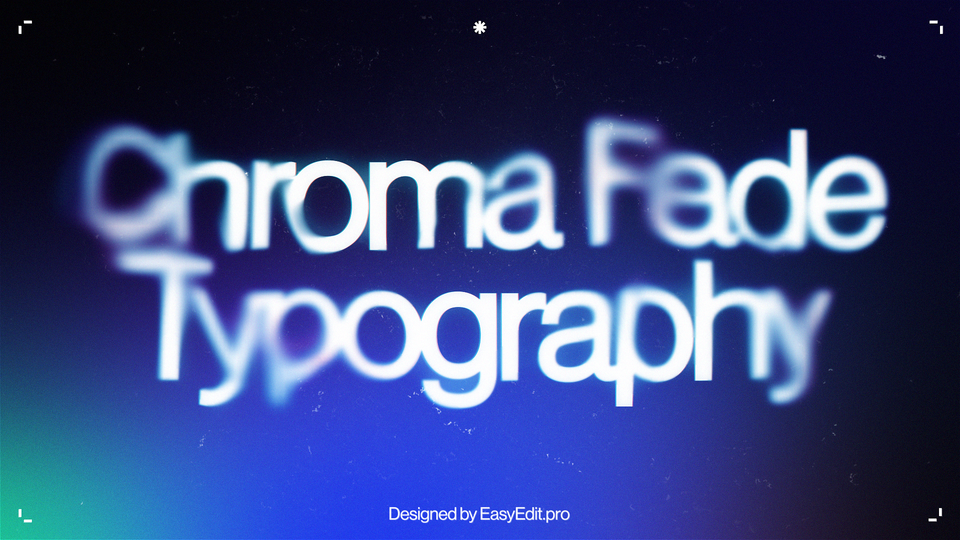
Here’s the result we’ll achieve:
If you want to follow a video tutorial, use this link.
Audio Spectrum Effect in After Effects
First, create a new text layer and align the text to make it centered.
Add a track you’d like to visualize.
Pick the moment when you want the track to start playing and place it to match our composition. Cut out the rest.
Convert our audio track into the keyframes.
Double-click on U to see all the keyframes we’ve generated. Delete the left and right channels, and keep Both Channels.
Create an Adjustment Layer and add a Displacement Map effect to it.
Here we’ll add a texture to be our distortion map, in our case, we’re going to use this video from the Artlist.
Our video proved to be shorter than we needed, so we’ll make it infinite with LoopOut expression. We’ll hold Alt, click on the Time Remap parameter, and write down the following expression. Now we can set any duration we need.
Go to Displacement Map and link it to our video in the Displacement Map Layer.
Now we’ll parent Max Vertical Displacement and Max Horizontal Displacement effects to the Slider of our Both Channels generated keyframes.
That’s the result we currently have:
Precompose all of our layers and add a CC Scale Wipe effect. Set the Stretch parameter to 27 and the Direction to 180 degrees, so we’ll get the distortions on the bottom of our text. Shift the Center closer to the bottom part of our text.
Now we need to duplicate this effect, turn our Direction up to 0 degrees and shift the Center closer to the top of our text.
Now, we need to split our text into channels. Duplicate our precompose, call it Red and add a Shift Channels effect to it. Disable all of the channels except for the Red one. Repeat the same for the Green and Blue channels, leaving only the corresponding colors.
Make a little one-frame offset of the green and blue channels.
Select the layers we’ve separated into the channels and use the Add blending mode.
Create a new Adjustment Layer and add a Gaussian Blur effect to it. Use the Pen tool to outline the mask over our text. Make sure the mask is crossing our text a little bit.
Set the Blurriness amount to 25, smooth the mask edges and set Mask Feather to 130 pixels.
Duplicate our blurred layer and flip it over vertically. Fix the mask where needed.
The result is ready!
And, there’s something you need to know. You can achieve the same audio spectrum effect in one click with our Audio Visual Kit for After Effects. No keyframes, no adjustment layers - just a composition reacting to any track you’ll add! Watch this guide to learn how!
To Sum Up
It's time for you to create your first equalizer!
If you've enjoyed this tutorial, don't forget to check more guides - here you can check our recent After Effects guides.You can also watch full tutorial on Youtube.
10k elements for Reels and Stories
Looking to add a splash of creativity to your Instagram stories and reels? You're just a click away! Discover our iOS app infi: packed with 10,000+ unique stickers and design elements to breathe life into your social media content.