Created: 3 years ago


Stretched Typography Tutorial | Stretched Text Animation In After Effects
Hello friends and welcome to our tutorial!
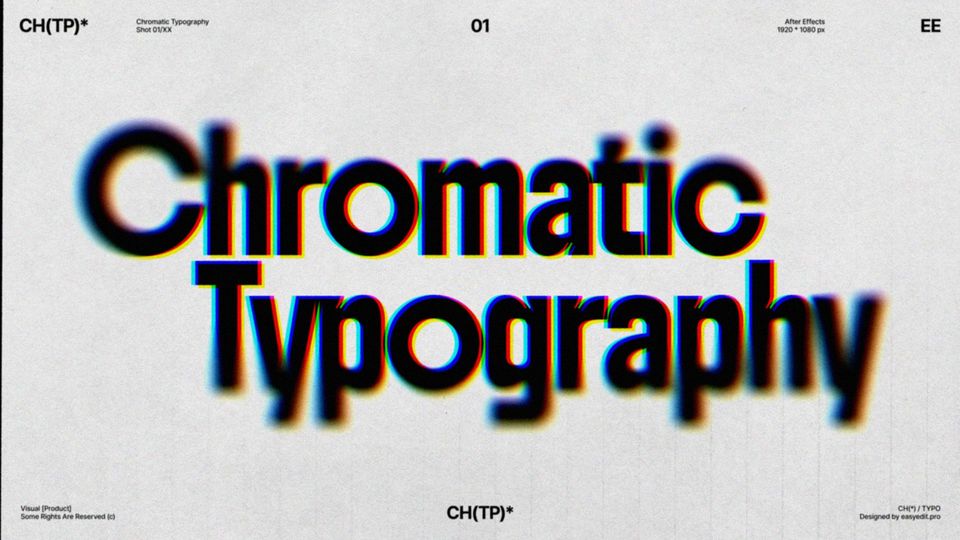
Here's the result we'll have:
Let's jump into the tutorial!
Typeface
Before we begin to work on the project, let’s say a couple of words about typefaces.
The typeface itself plays a huge role in this method and has to be carefully selected.
It has to be geometric with rectangular elements - we've chosen the Space Grotesk typeface as it suits our purposes just right. It's rounded but it has some rectangular elements which will stretch very good.
The typeface is free and you can download it at Google fonts to follow us along.
Text Preparation
We'll begin our work in Adobe Illustrator - prepare the text and create some reference states for your animation. While looking for the references, think of them as the initial state and the end state of the animation. We’ve already prepared some guide images so we’ll stick with them and you can follow along or create your own.
The text:
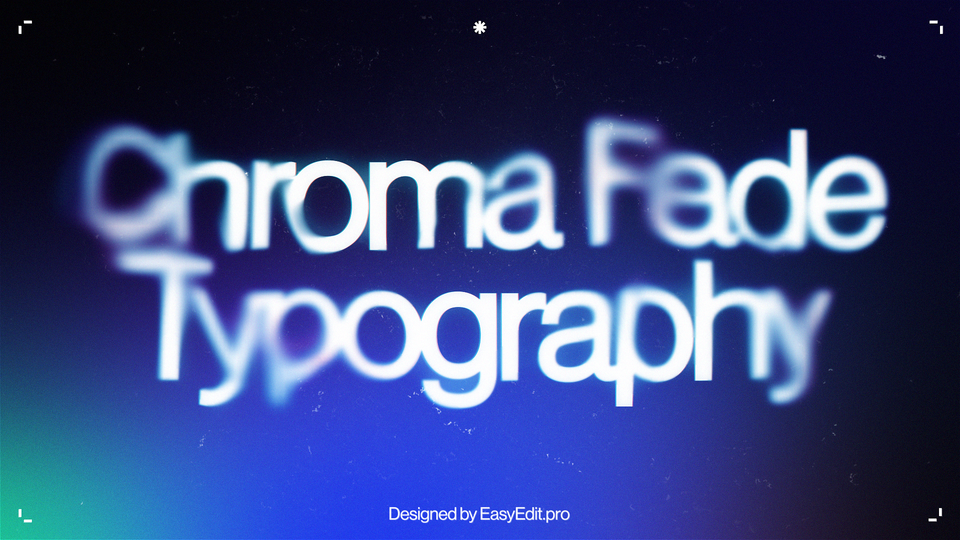
Reference for the initial state of the animation:
Reference for the end state of animation:
Consider the fact, that not all letters will look good while stretched, so the golden rule here is to pick suitable letters that have rectangular elements. In our case these will be letters R O P I G and E.
So, let's begin preparing our text. Select the text, right-click on it and create outlines:
Ungroup the text:
Bring back the reference image and start moving the characters:
What we want to do next - we’ll split letter O in half and ungroup it:
And place the parts of the letter into the corresponding places:
Now, we’ll draw two rectangles to weld our character:
Select these shapes and unite them:
Now for line number two, we’re going to align our characters. Stretch out the letter P, the letter I and the letter O:
Now, let’s move to the third line. The letter G is a little bit tricky, because it has extreme points which are not on the same axis. Keep in mind that the splitting has to be done in the most extreme points at the top and the bottom of this letter:
We’ll select everything and split it as well, ungroup everything and reposition it:
We’ll draw a few rectangles to unite the shapes. Select everything and unite it:
So, the initial state of our animation is ready, now we’ll select everything, copy and create a new document. Save it as Full-HD, press OK and hit Command F to position the characters in the same place on the artboard:
Make sure that everything is ungrouped.
In the Layers menu, we’ll select the layer and click on the right menu, select Release to Layers (Sequence) and now Illustrator has separated all of our characters into separate layers:
The next thing we want to do is rename everything to keep the project tidy and keep the right order of the layers:
After we placed the characters correctly and our layers are prepared, it’s time to animate.
Text Animation
We need to import the file, drag it into the project window and select Import Kind>Composition, Footage Dimensions>Layer Size:
The next thing to do, select all your layers, right-click on one of them and Create Shapes from Vector Layer:
Now After Effects has created some shapes for vectors. You can delete the previous Ai shapes, since we don't need them anymore:
You can additionally label the layers for more convenience:
Let's begin to animate. Shy the middle line and the third line, hide it and shade out, so we can work with the first line for now:
Now, use your reference images.
Now we’ll use the end state, import it into After Effects and place it on the timeline below the text:
Lock your reference image, select the letter O, open its contents:
Go to Path 1 and Path 2 and in the beginning of the composition, create the keyframes:
On the first second on the timeline, select these points of the shape and move them in the place due to the reference:
Next is the letter R. Repeat the same actions for the letter R: select the Paths, go to the beginning of the composition, create keyframes and on the first second place the shape due to the reference:
You can copy and paste the initial keyframes of one letter to another, so they will look the same:
Go into the line 2 and animate it as well. We'll begin with the letter I.
Create the keyframes on the beginning of the timeline and change the shape of the letter on the first second:
Now the letter N - this letter doesn't stretch but it moves so we’re going to animate its position:
Letter P stretches and moves, so we're going to animate its Paths:
Copy and paste keyframes as well. This is letter R, which is also moves and stretches. Let's stretch it like this:
We don't think we need to animate the Position, because the Path animation works really well so it's more than enough:
Repeat the same process for the final letter O.
We've animated the second line! Now, let's animate the last third line.
While moving the shapes, be careful to select all the points:
Repeat the same actions for the letter E, copy and paste our initial keyframes. So we’ve finally created this animation and now we can hide the reference layer.
If we will play our result, we'll see that the animation is still dull because we didn't do the Easy Ease and did not yet animate the asterisk:
For the asterisk, there we'll create a rotation animation. Rotate the asterisk 45 degrees on the beginning of the animation and 90 degrees in the end of the animation:
If you'd like, you can select all of the shapes and change the color to match the reference:
To make the animation more interesting, we decided to offset the middle line and swapped the initial and the end state of the animation:
By doing this, we'll make the shapes move in different directions, creating more dynamics.
Now we’re going to select our shapes, hit U to bring up all the keyframes, select all of the keyframes, go to Graph Editor and hit F9 to Easy Ease all of our keyframes:
We’ve Easy Eased our keyframes and used Graph Editor to make the easing as much dramatic as possible. We've created a slow motion and right about the 15th frame the speed will ramp up.
To make it gradually slow down, we need to do the same for the second part of the keyframes:
The last thing we want to do is to animate the color of our asterisk. To do this, we need to bring up its Fill in the beginning of the composition.
We’re going to create a keyframe on the first second, change the color, and use the initial keyframes from the text animation. Additionally, Easy Ease the keyframes of the asterisk, just like you did for the text:
We can additionally create a matching background and place it down below other layers:
To Sum Up
We hope you’ve enjoyed the tutorial and it was useful!
Now you can create a complex stretched typography, knowing the details of selecting the typeface, most suitable letters for stretching, how to smoothly animate the text and more. Good luck with your future animations!
For more animation tutorials, visit our Blog - we have tutorials how to create Liquid and Kinetic animations, how to create animators or fix issues in After Effects.
10k elements for Reels and Stories
Looking to add a splash of creativity to your Instagram stories and reels? You're just a click away! Discover our iOS app infi: packed with 10,000+ unique stickers and design elements to breathe life into your social media content.