Created: 3 years ago


Top 4 After Effects Text Animation Techniques for beginners
Hello, friends and welcome to our tutorial!
Though this tutorial is for a beginner level, we assume that you have some basic knowledge of After Effects and know how certain things work.
This is the result we’ll achieve in this guide:
Hope this tutorial will be useful for your future work in After Effects, so let’s start!
Example 1
For the first technique, we gonna be using some text separated into 3 different layers.
Let’s go for the first second, select our text, hit P for the Position and while holding Shift, hit T to bring up the Opacity:
Create keyframes for each property:
Go to the beginning of the timeline and Offset the text, set the Opacity to 0:
Now, let’s Easy Ease our keyframes.
To do that, select them, right-click on one of them and select Keyframe Assistant>Easy Ease. With the keyframes selected let’s go to the Graph Editor and Ease our keyframes like this:
Let’s Offset our layers a bit and hit render:
Here’s the result we got!
Example 2
For the second technique, we’ll also be using a sentence, separated in 3 different layers.
The first thing we want to do is create some guides. For this, let’s bring up the rulers by hitting Command+R and create the guides:
Now, let’s go to the View menu and set Snap to Guides:
Next, we need to draw some shapes.
We’ll use the Rectangle Tool and draw the shape on top of each of the text layers:
Now that we have our shapes, let’s place them above the text layers. Each shape should be placed above the corresponding text, like this:
Let’s select our text and in the Track Matte menu, select Alpha Matte:
This layer will get it’s Alpha from the layer on top of it, so when we move the layer it’s gonna be visible only in the area where this layer has it’s Alpha:
Go to the first second on the timeline and select our text layers. Hit P to reveal the Position tool and create keyframes:
Go to the beginning of the timeline and Offset our text until it won't be visible:
Now, let’s Easy Ease our keyframes.
Like in the previous example, select the keyframes, right-click on one of them and select Keyframe Assistant>Easy Ease.
Next, go to the Graph Editor and Ease Out the keyframes more, to make the animation smoother.
Offset our animation for about 3 frames and hit render:
Here goes the second technique!
Example 3
Okay, so technique number three is a bit more interesting. We’re going to do some kind of zooming out/flying out text:
Firstly, type in a word:
Now we need to reposition our Anchor Point to the center of the layer. To do this, hit Command+Alt+Home.
As you can see, the Anchor Point now is in the center of the layer.
Once our layer is in the center of our composition, go to the 10-th frame on the timeline, select our text layer and hit S for Scale:
Now, let’s go to the beginning of the comp and set the Scale to about 1000%:
Let’s go to the 4-th frame, hit T for the Opacity and create a keyframe:
Go to the beginning of the comp and set the Opacity to 0:
This is how we created our In animation. Now, let’s create some Out animation.
We’ll create more keyframes for the Scale and the Opacity on the 14-th frame:
Go to 10 frames forward by hitting Page Down on the keyboard and set the Scale to about 50%:
Since we have 4 frames for the Opacity in here, for the In animation, we’ll make the same length for the Out animation.
Go to 18-th frame and set the Opacity to 0:
Trim the layer, set the marker and hit Command+Shift+D:
After you cut the layer, delete the second part as you won't need it.
Now, let’s Ease our keyframes like in previous examples, let’s select them, right-click on one of them and select Keyframe Assistant>Easy Ease.
With the keyframes selected, let’s go to the Graph Editor and Ease them out even more:
So, this way we’ve created our animation for the In and the Out.
The next thing we can do is duplicate our layer, hit U to bring up layer properties and align the new layer with the previous one:
This way the Out animation will be perfectly aligned with the In animation of the next layer.
Type in other words and duplicate the layers:
After this, just hit render!
This is how we’ve created our third technique.
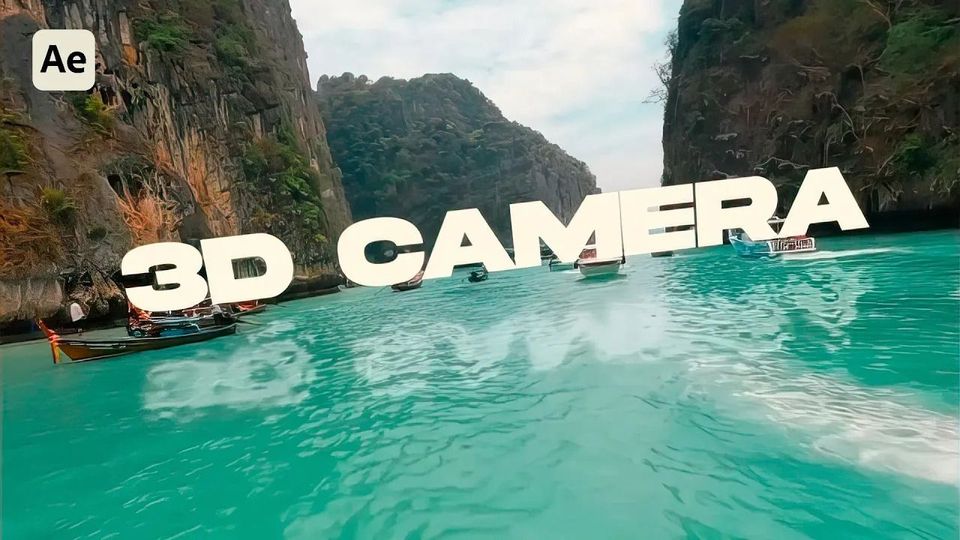
Example 4
For this technique, we’re going to need to prepare our sentence and separate it into 4 different layers.
Now, we’ll create the animation.
Select our layers and hit a little cube icon on the timeline to make them 3D:
Go to the first second, hit P for the Position properties:
While holding Shift hit R and T to bring out the Rotation and Opacity properties:
Create some keyframes for the Position, the Y Rotation and the Opacity:
Now, go to the beginning of the timeline and set the Position to the value of -201:
The Rotation to 60 degrees:
And the Opacity to 0:
Select the keyframes, right-click on one of them and select Keyframe Assistant>Easy Ease.
Go to the Graph Editor, select the last keyframes and drag the handle to the left, to Ease Out our keyframes.
Finally, Offset your animation. We’ll Offset it to about 3 frames and hit render:
This is our result in the last technique:
Wrap up
We hope this tutorial was helpful and you’ve enjoyed it! Save it for your future edits.
If you liked this one, check out how to create Kinetic Text Animation and Liquid Text Animation.
More tutorials in our Educational Blog!
10k elements for Reels and Stories
Looking to add a splash of creativity to your Instagram stories and reels? You're just a click away! Discover our iOS app infi: packed with 10,000+ unique stickers and design elements to breathe life into your social media content.